ardusub-gitbook
Firmware Page
The Firmware Page allows ArduSub firmware to be downloaded from the internet and directly installed onto Pixhawk-family flight-controller boards. By default QGC will install the current stable version, but you can also choose to install beta builds, daily builds, or custom firmware files.

Connect Device for Firmware Update
Note Before you start installing Firmware all USB connections to you vehicle must be disconnected. The vehicle must not be powered by a battery.
- Plug in the Pixhawk to the computer’s USB port.
- Once recognized and the parameters have been loaded, go to the Firmware page.
- Follow the on-screen instructions to disconnect the autopilot board.
- QGC will look for the board for about 30 seconds. Within this time, reconnect the board to the computer.
- Once detected, QGroundControl will show a firmware selection box on the right.
- Choose “ArduPilot Flight Stack”, then select “ChibiOS”, “Sub”, and (assuming you are using a Pixhawk) “Pixhawk1” from the dropdown list.
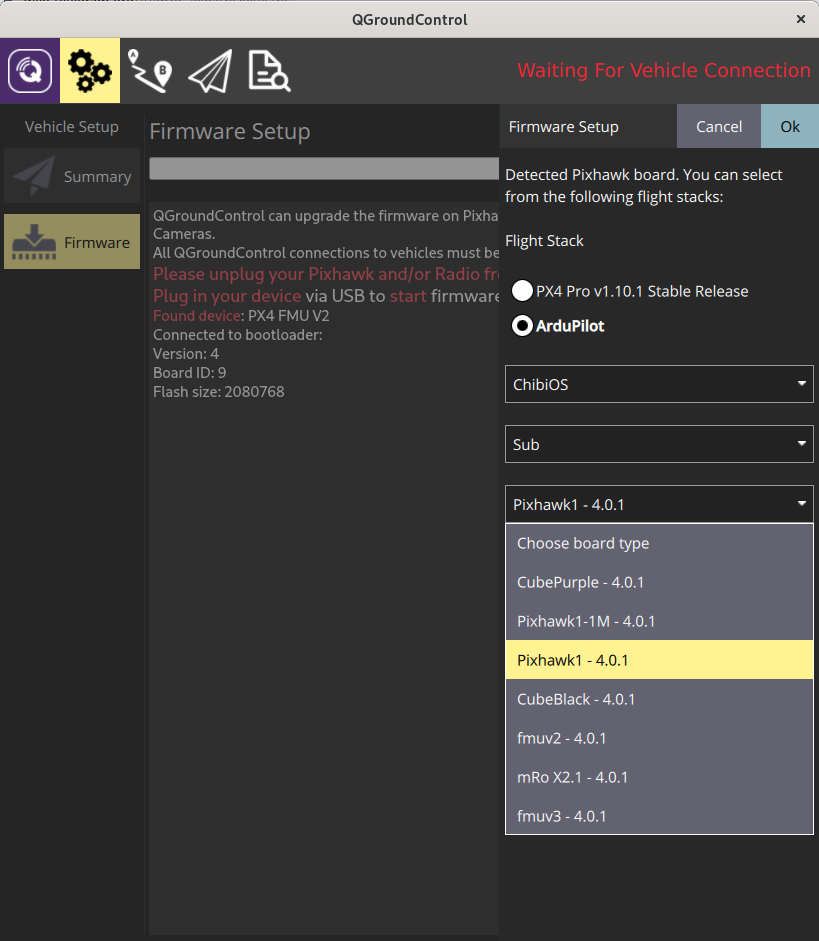
- Press “OK” at the top right.
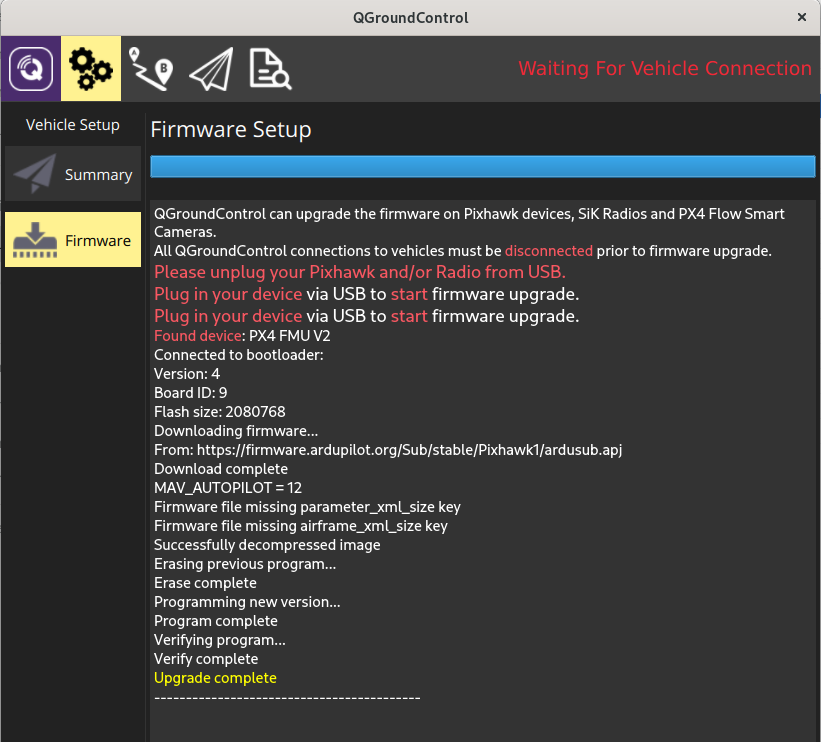
- The firmware will upload the Pixhawk and you’ll see the following printout and success message. The Pixhawk will reboot and then will automatically connect with QGroundControl.